Google Search Console is a user platform that provides insight on the keywords your site ranks for organically. As well as letting us know who well your site performs organically, this also can provide valuable data to support paid advertising campaigns.
We will firstly cover how to setup Google Search Console. If you have already done this, please skip to the section on how to share access to Google Search Console.
How to set up Google Search Console
1. Visit Google Search Console and click ‘Start Now’ if needed.
2. Click on the dropdown in the top left and select ‘Add property.
3. Enter your domain in the ‘Domain’ section on the left, as seen in the image below. Do not enter https:// or www, just enter the domain on its own — e.g. mydomain.com
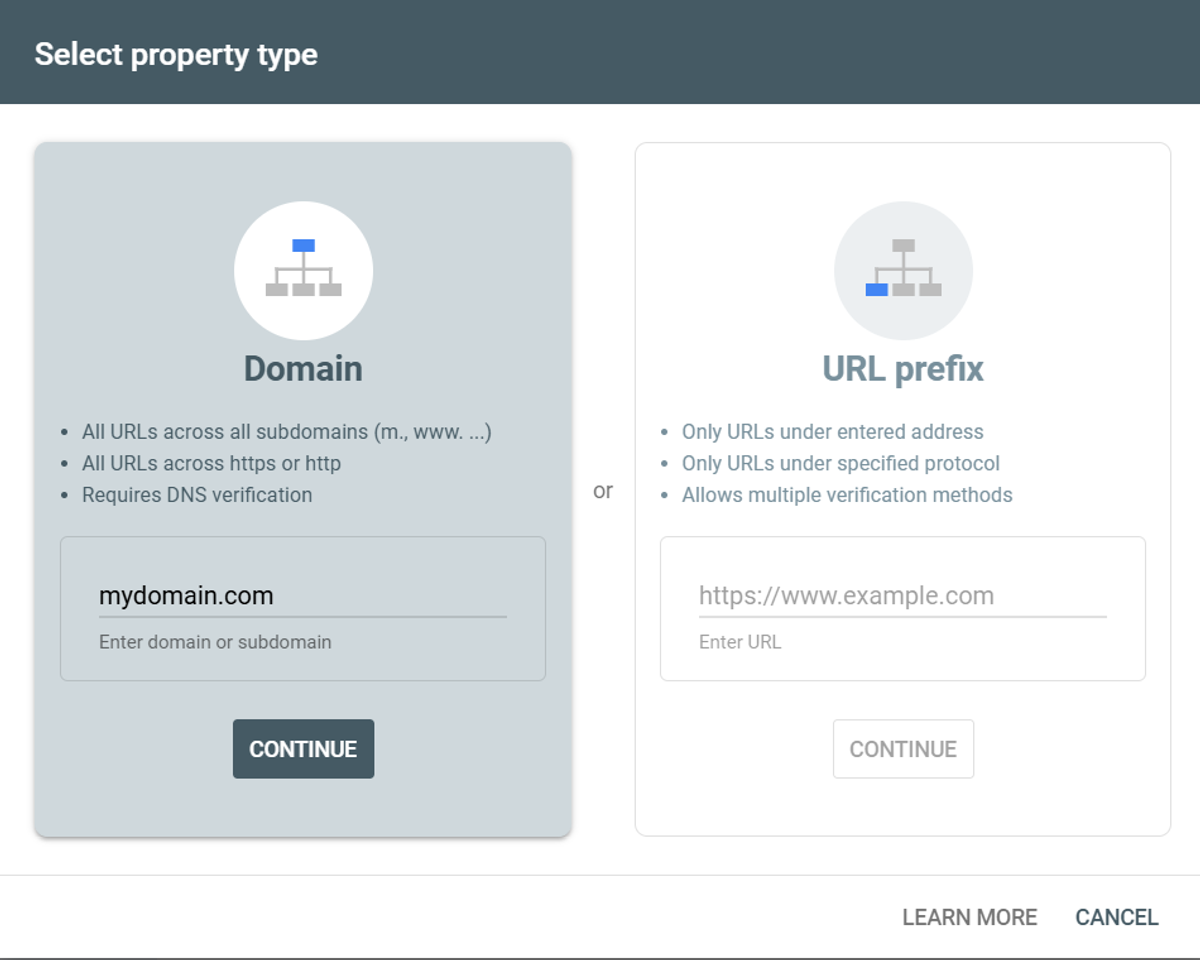
You will then be prompted to verify that you own this website.
4. Open the website of your domain provider and log into your account.
5. Navigate to the section titled ‘DNS Settings’ or similar.
6. Add a new record to your DNS settings (do not delete or replace any existing records.)
Record type: TXT
Host: Enter either your domain name (e.g. mydomain.com) or simply type @
Value: [copy and paste the text starting with google-site-verification…] from Google Search Console.
TTL: Select the lowest value available.
7. Save the record
8. Go back to Google Search Console and click ‘Verify’. This often completes the verification process immediately, but occasionally can take a few hours or more.
How to Share Access to Google Search Console
1. Log into Google Search Console and verify you are accessing the correct account. Your domain should appear as mydomain.com in the dropdown at the top left of the screen. IMPORTANT: It should not include https://, http:// or www.
2. Click on Settings in the left sidebar.
3. Click on ‘Users and Permissions’
4. Click on ‘Add User’
5. Type our email address
6. Ensure Permission is set to ‘Full’
7. Click ‘Add’.